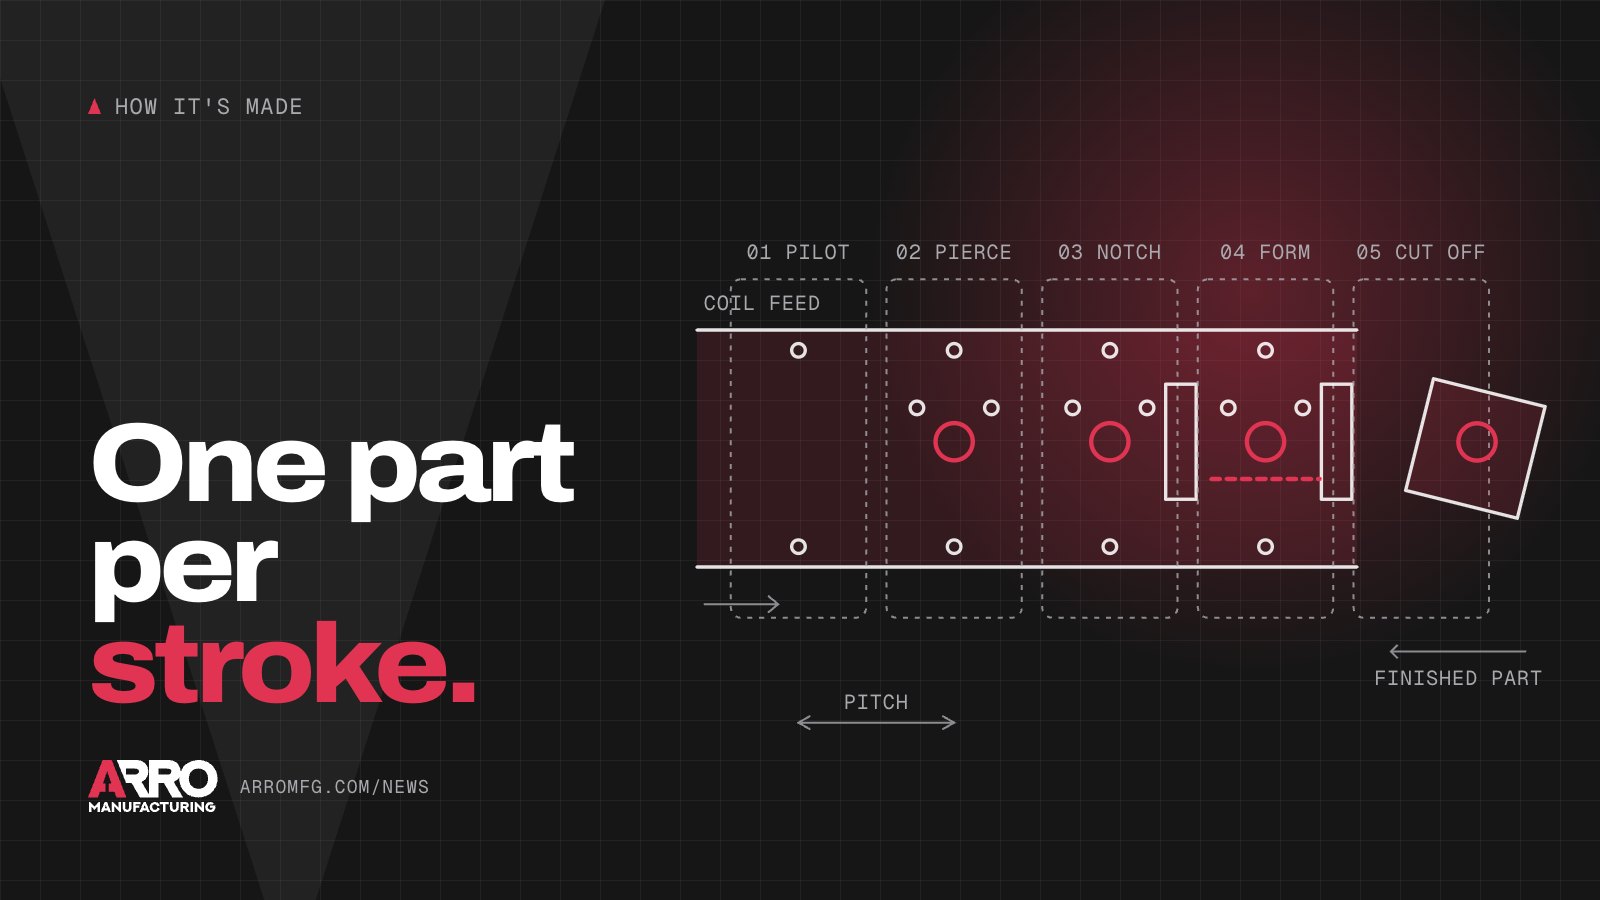
A progressive die is one tool that does a whole sequence of operations on a strip of metal. Each time the press comes down, every station works on the strip at once, the strip moves forward one step, and a finished part comes off the end. Once the die is full, that is one part per stroke (or more, if it runs two parts side by side) for as long as the coil lasts. It is the workhorse of high volume metal stamping.
From coil to strip
The material arrives as a coil of steel, stainless, aluminum, brass or copper, slit to the width the die needs. It runs off a reel, through a straightener and into a feeder that pushes the strip forward a fixed distance on every stroke. That distance is the pitch, or progression. It equals the spacing between stations, and the whole die is laid out around it.
The feeder gets the strip close. The pilots make it exact. Pilots are bullet-nosed pins in the upper die that enter holes pierced in the strip at an earlier station, pulling it into register before any punch touches the metal. Feeders typically release the strip for that moment so the pilots can locate it.
The part stays attached to the strip until the end. Ribbons or tabs of material, called the carrier, hold each partly finished part and move it from station to station. The carrier has to be stiff enough to feed reliably, but still let the part form without pulling the pilot holes out of position.
What happens at each station
The plan for the die is the strip layout, a drawing that shows what happens at every station, in order. It is where die design starts. A typical layout uses some mix of these:
- Pierce. Punch holes, usually the pilot holes first so everything after them can be located.
- Notch. Cut material from the strip edges to rough out the outline and free up metal for forming.
- Form. Bend flanges, tabs and offsets, sometimes in stages across several stations.
- Coin or emboss. Squeeze the metal to set a flat, sharpen a bend, or press in a rib or a part number.
- Cut off. Separate the finished part from the carrier. The leftover skeleton goes out as scrap.
Designers also add idle stations, empty positions that make room for stronger die steel and for changes later. Order matters too. A hole that has to hold position relative to a bend is often pierced after forming, so the bend cannot pull it out of place.
Why it suits high volume, and when it does not
A progressive die costs more to build than a die that does one operation, because it is really several dies combined into one tool. In return, the press makes a complete part on every stroke with nobody handling it in between. Labor per part is low, and every part is located the same way.
A progressive die trades a bigger investment up front for a lower cost on every part after that.
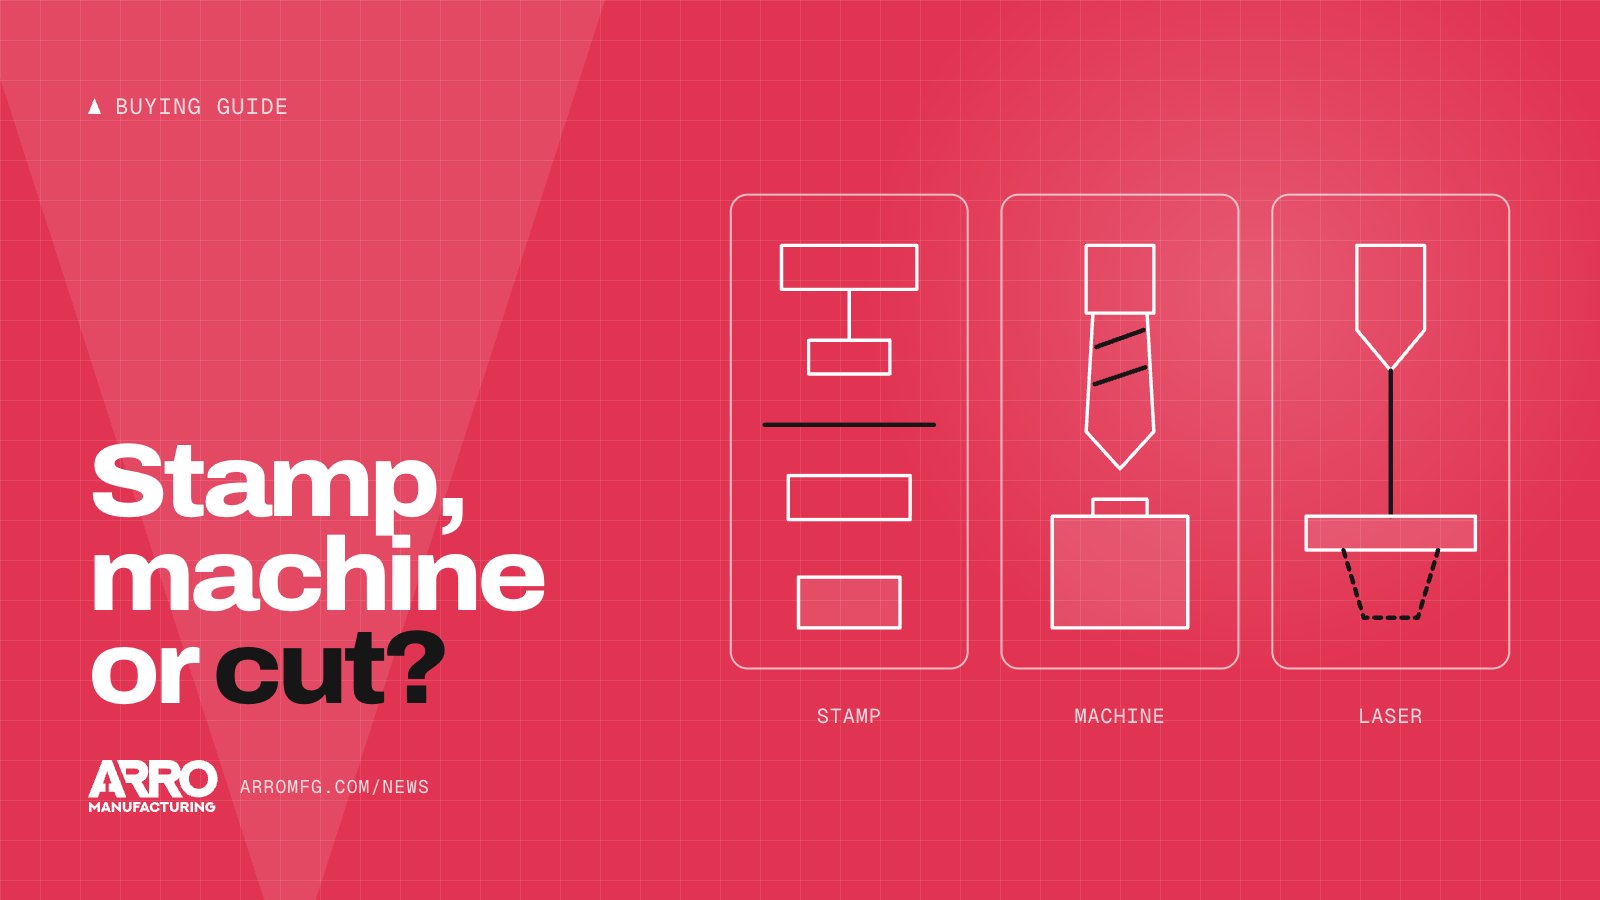
That trade does not always pay off. A single-hit die, which does one operation per stroke, or a short series of secondary dies often makes more sense when:
- Volumes are low or the part is a prototype, so the extra die cost would never be paid back.
- The design is still changing, and each revision would mean rework on a complicated tool.
- The part is too large to carry on a strip, or a deep draw would tear the carrier.
- The job is one added operation on a part made some other way.
What drives die cost and lead time
Every die is custom, but the cost drivers are predictable. Station count is the big one, since each station adds punches, die sections and machining. Part size and thickness set how large the die set has to be. Stainless and high strength materials call for tougher tool steels, sometimes carbide. Tight tolerances and complex forms add design, grinding and tryout time. Expected volume decides how much wear resistance gets built in.
Lead time follows the same factors, plus the steps every die goes through: design, steel and components, machining, heat treat, Wire EDM of punches and die sections, assembly and tryout. Tryout is where the die gets tuned until the parts are right. A settled design keeps that short, since a late change can mean reworking hardened parts.
Keeping the die running
A progressive die takes a beating on every stroke, and its upkeep shows up directly in the parts. Dull edges raise burrs, take more force to cut and make more noise. The standard fix is to sharpen punches and die sections before they get too far gone, grinding a little at a time, and shim them back to height.
Toolmakers also check pilots, springs and lifters, watch for slugs pulling back up, and read the strip itself. A strip pulled from the die shows what every station did, and distorted pilot holes or a drifting pitch point to trouble before it turns into bad parts.
At Arro we have designed and built stamping dies in house since 1952, and we run them in our own press room on presses from 15 to 600 tons. That covers progressive dies for production work and single-hit dies for secondary operations and lower volumes. If you have a part that might belong in a progressive die, share the drawing with us and we will tell you how we would tool it.
Sources
- stewartefi.com/progressive-die-stamping-process
- minifaber.com/blog-minifaber/sheet-metal-stamping-how-a-progressive-die-stamping-works
- thefabricator.com/article/stamping/reading-progressive-die-strips---part-i
- blog.fictiv.com/articles/progressive-sheet-metal-stamping
- thefabricator.com/article/stamping/die-science-preventive-die-maintenance-procedures
- mate.com/technical-resources/punch-press-resources/tips-techniques/punching/punch-die-maintenance